Investing for my child’s future is one of the best steps I can take as a parent. The NPS Vatsalya Scheme is crafted especially for minors, making it easy to start early retirement planning.
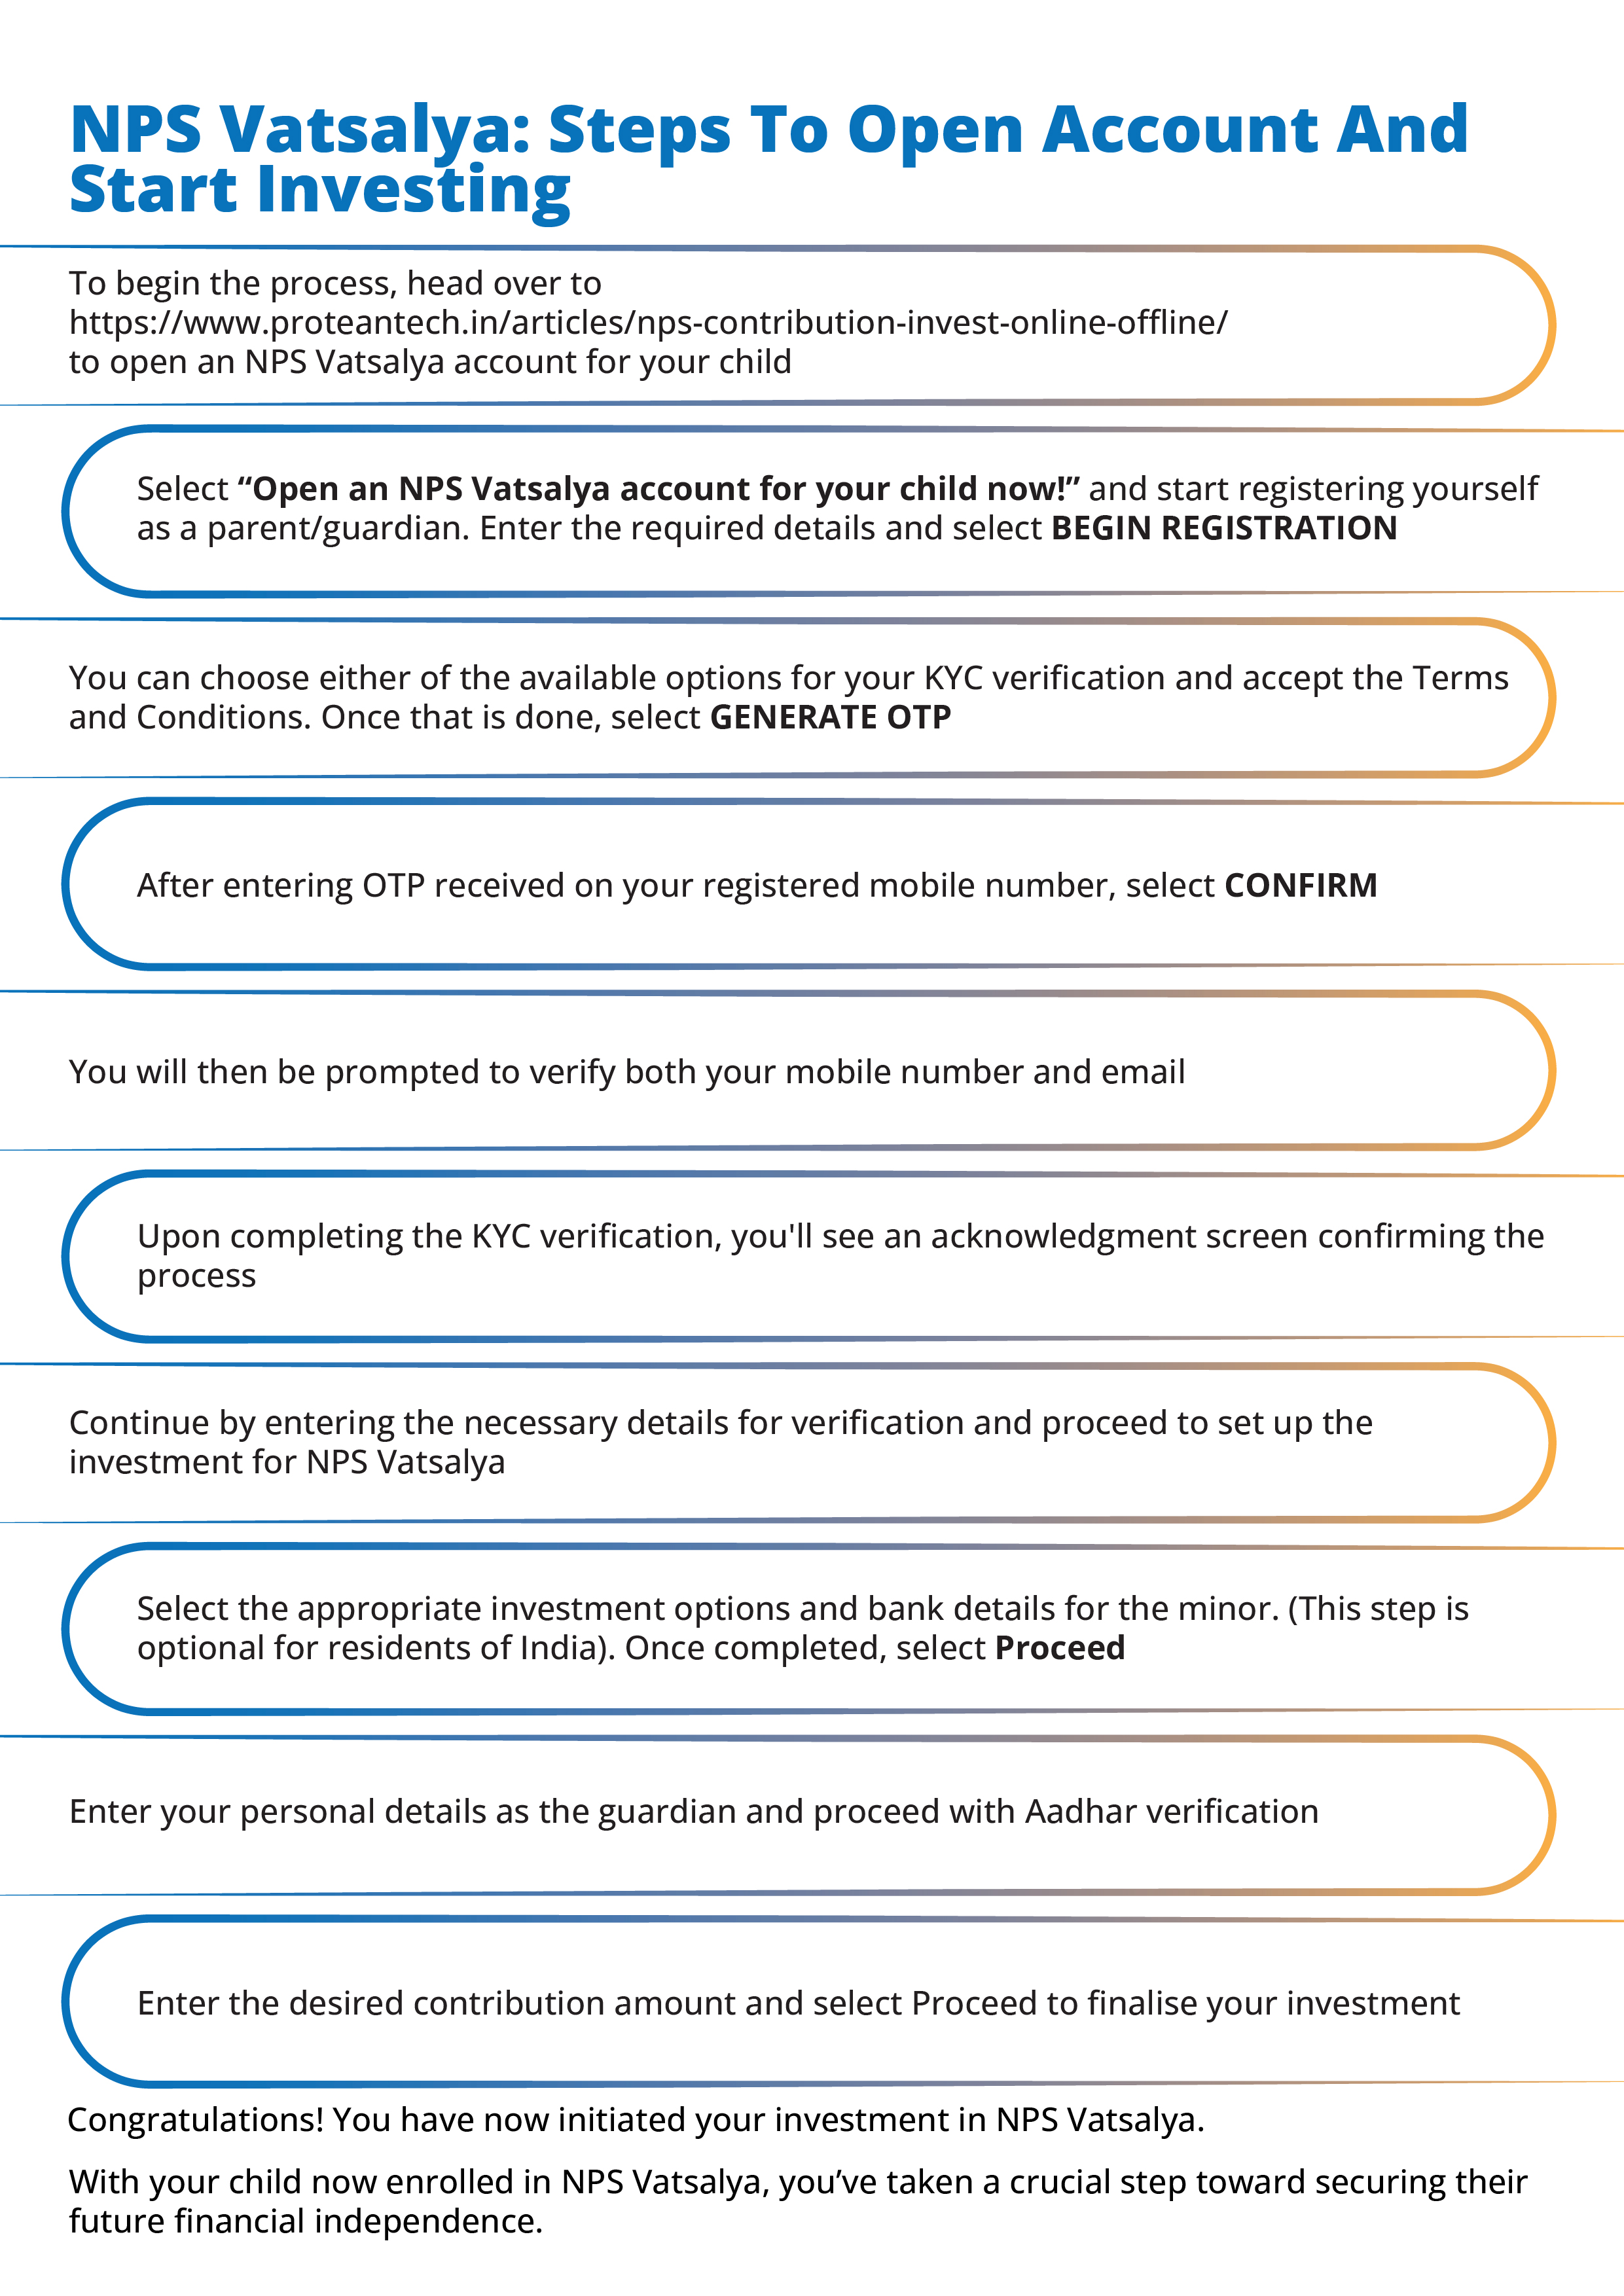
I am sharing my experience of enrolling in NPS Vatsalya for my son. Here is my visual guide to walk you through each step in the enrollment process.
You can follow these steps to make sure that you don’t miss-out on a single detail.
Step-by-Step Enrollment Process:
- To begin the process, I headed over to this link
You can start by opening this link, as I did for opening an NPS Vatsalya account for my child.
Alternatively, you can also scan this QR code:
Next step, I filled-in my Date of Birth (DD/MM/YYYY), Permanent Account Number (PAN), Mobile Number, Email ID and clicked on the `Begin Registration’ button.
- By going further in the process, I found two options for KYC verification: Aadhaar and Document with Digilocker. I could choose either of the available options for my KYC verification.
Next, I ticked on “I have Read and Accepted the Terms and Conditions”.
After that, I clicked on GENERATE OTP
- I entered the OTP that I received on my registered mobile number, and clicked on the CONFIRM button.
- I was then prompted to verify both my mobile number and email address through OTP.
- Upon completing my KYC verification, I saw an acknowledgment screen confirming the process. You can see the confirmation message below:
- Next, I continued the process by entering the necessary details for verification. Then, I proceeded to set up my investment for NPS Vatsalya
- I selected the appropriate investment options and bank details for my son. (This step is optional for residents of India). After filling-in all the details, I clicked on the Proceed button.
- I entered my personal details as the guardian and proceeded with Aadhar verification
- Further, I entered the desired contribution amount and selected Proceed to finalise my investment
So happy! I have now successfully initiated my investment in NPS Vatsalya.
Conclusion:
By enrolling my child in NPS Vatsalya, I have taken a vital step toward securing their financial future. The process might look lengthy, but thanks to the eNPS platform, it was surprisingly smooth and quick.
Following these steps, I know I am setting up a future of financial independence and stability for my child—one contribution at a time.
You can begin today by following this visual guide as I have stated above.

Writer’s name: Gauri Varty

